

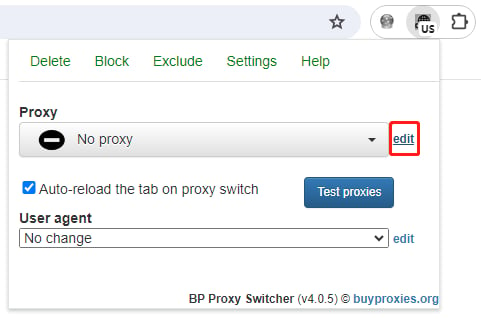
- Click the BP Proxy Switcher icon and select Edit.
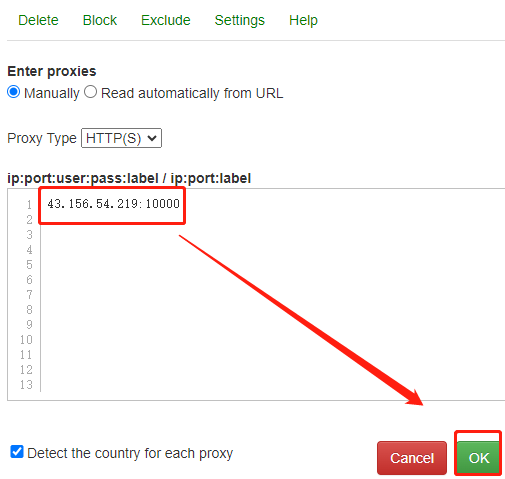
- Choose HTTP(S) as the proxy type, enter the IP address and port (in the format ip:port) obtained via the API, and click OK.
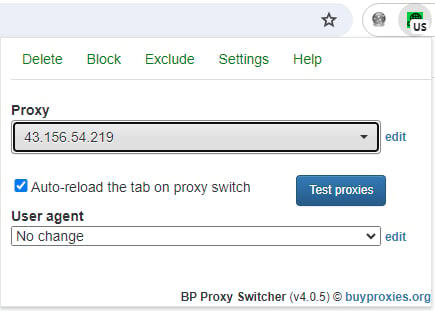
- Upon successful configuration, the BP Proxy Switcher icon will light up; if it does not light up, the configuration has not taken effect and you will need to repeat the above settings.
Browsers & Extensions Proxy Integration Guide
BP Proxy Switcher
Before integrating a proxy into BP Proxy Switcher, ensure that the proxy service has been correctly configured and is functioning properly.
Tip: Before using the plugin, add your local IP address to the IP whitelist.
The specific steps are as follows:
Was this page helpful?